

FEATURED PRODUCTS

Recommended
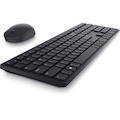
Dell Pro KM5221W Keyboard & Mouse
$43.00